Snapshot Features
Tip. Use snapshots before performing updates or critical configuration changes, so you can quickly restore your Cloud Server to a working state if any issue occurs.
A snapshot is a copy of the Cloud Server contents at a specific moment in time. It creates a full image of the disks and system configurations. Networks and computing resources are not saved. Snapshot creation and retention are free of charge. Restoring a snapshot brings the Cloud Server back to the exact state it was in when the snapshot was created. The snapshot saves only disks and their configuration. It does not include network settings or computing resources such as vCPU and RAM.
Rules to follow
- Only one snapshot can be created at a time.
- To create a snapshot, each disk must have at least 10% free space.
- After creation, the snapshot is kept for 48 hours. After that period, it will be automatically deleted.
- When the snapshot feature is active, only RAM and vCPU values can be modified.
- When the snapshot feature is active, the Cloud Server cannot be archived.
- To restore a snapshot, the Cloud Server must be powered off.
- After restoration, the snapshot is deleted.
Create a snapshot
- Access the technical details page of the Cloud Server for which you want to create a snapshot.
- Select the Snapshot option below the Cloud Server name.
(Fig. Snapshot Creation)

- Click the CREATE SNAPSHOT button.
- Once complete, the snapshot will display its creation and expiration dates.
- The snapshot remains active for 48 hours from creation.
Restore a Snapshot
- Access the technical details page of the Cloud Server you want to restore.
- Shut down the Cloud Server by clicking SHUT DOWN SERVER.
- Select the Snapshot option below the Cloud Server name.
- Click the RESTORE button to restore the Cloud Server to the snapshot state.
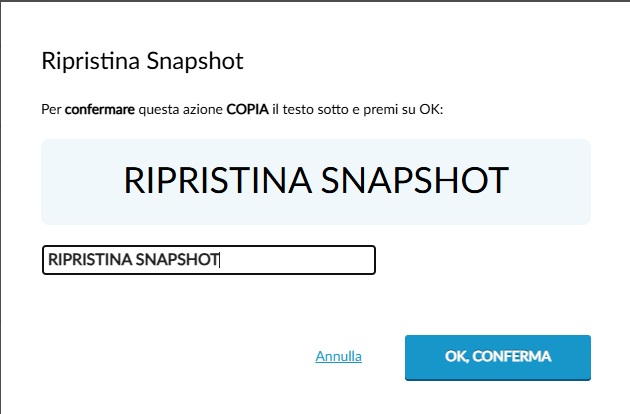
- The Restore Snapshot window will appear. Confirm the action by clicking OK, CONFIRM.
(Fig. Snapshot Restore)
- When the operation completes, restart the Cloud Server. It will be restored to the state it was in when the snapshot was created.
- After restoration, the snapshot is deleted, allowing you to create a new one.
Remove a Snapshot
- Access the technical details page of the Cloud Server whose snapshot you want to delete.
- Select the Snapshot option below the Cloud Server name.
- Click the REMOVE button.
- The Remove Snapshot window will appear. Confirm the removal by clicking OK, REMOVE.
(Fig. Snapshot Removal)

Once the operation is complete, the snapshot will be removed and no longer visible in the list.
Tip. Use snapshots before performing updates or critical configuration changes, so you can quickly restore your Cloud Server to a working state if any issue occurs.


