This guide explains how to correctly configure the Reverse DNS (PTR record) for a public IP address within the SeFlow Global Cloud control panel. Reverse DNS allows you to associate an IP address with a hostname, which is useful for proper DNS resolution in email services or network authentication.
1. Access the Public IP section
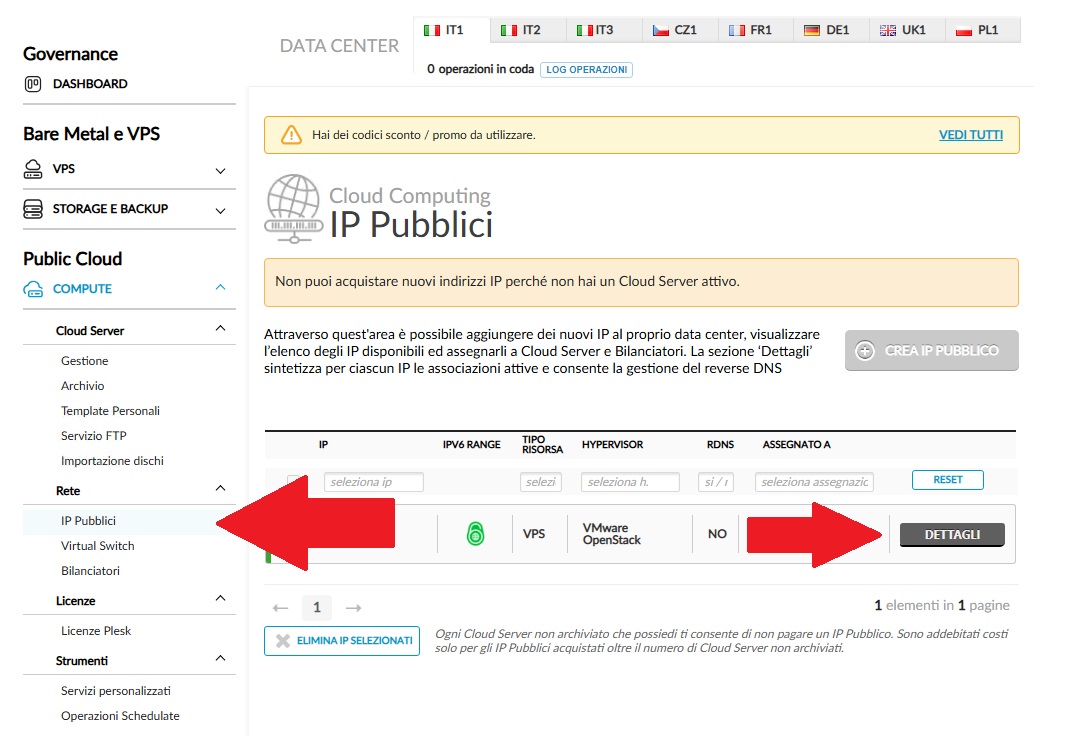
From the SeFlow Global Cloud dashboard, navigate to the left-side menu:
Public Cloud → Compute → Network → Public IPs
(Fig.1)
2. Open the IP details
Locate the public IP for which you want to configure the Reverse DNS and click Details (red arrow in Fig.1).
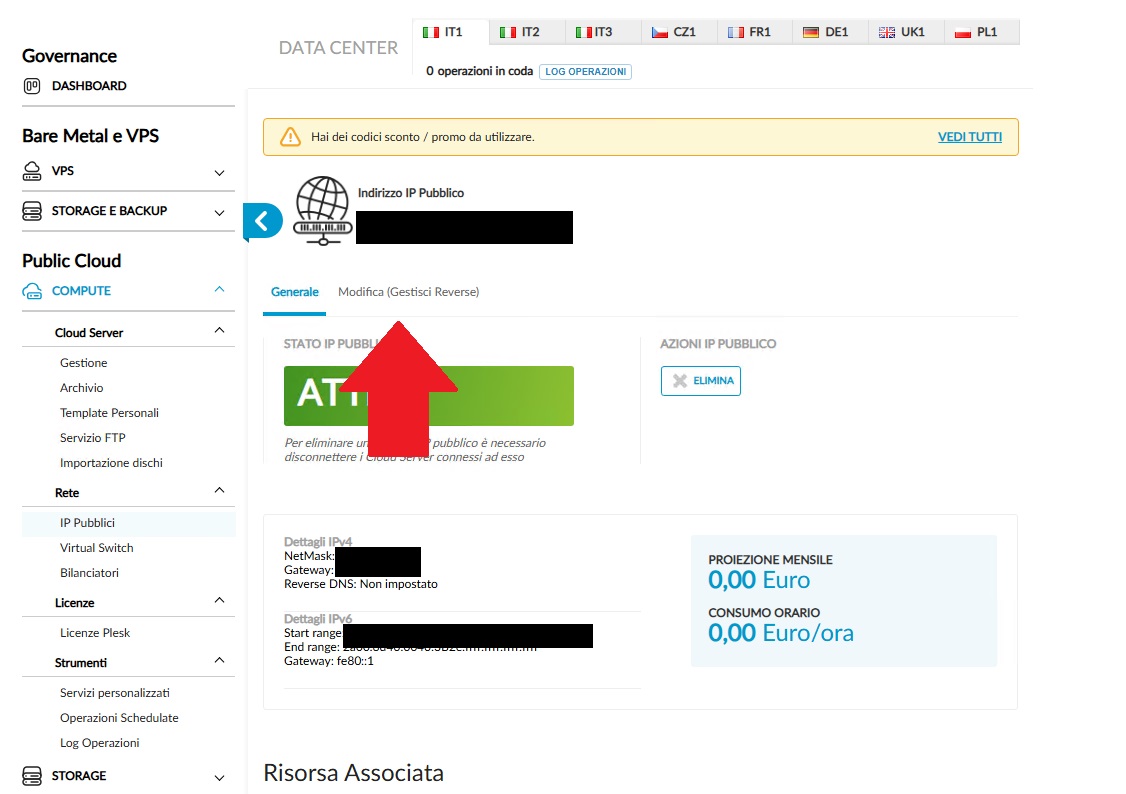
3. Access Reverse DNS Management
In the next panel, select the tab Edit (Manage Reverse) as shown by the arrow in Fig.2.
4. Add the hostname
In the Reverse DNS section, click Add hostname.
(Fig.3)
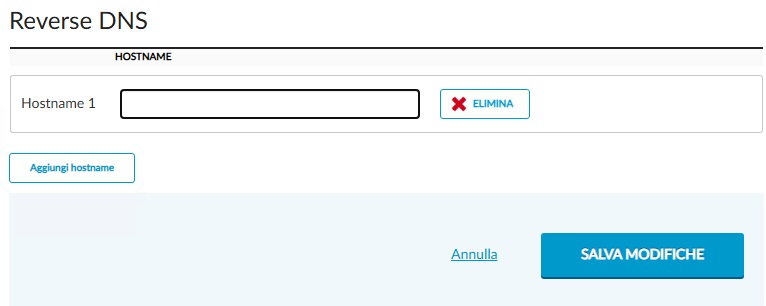
A field will appear where you can enter the desired hostname (example: mail.domainname.com).
5. Save the configuration
After entering the hostname, click Save Changes to apply the configuration.
The system will update the PTR record associated with the IP address within a few minutes.
6. Verify the configuration
After applying the change, you can verify the Reverse DNS setup by running the following command from a terminal:
nslookup <IP_address>The result should return the hostname you configured.
Note:
Reverse DNS configuration is available only for active public IP addresses associated with Cloud Servers within the SeFlow Global Cloud service.


